*This post has been written in collaboration with Bosh DIY & Garden who kindly supplied all the tools for making this leather strap shelf. All words and opinions are my own.
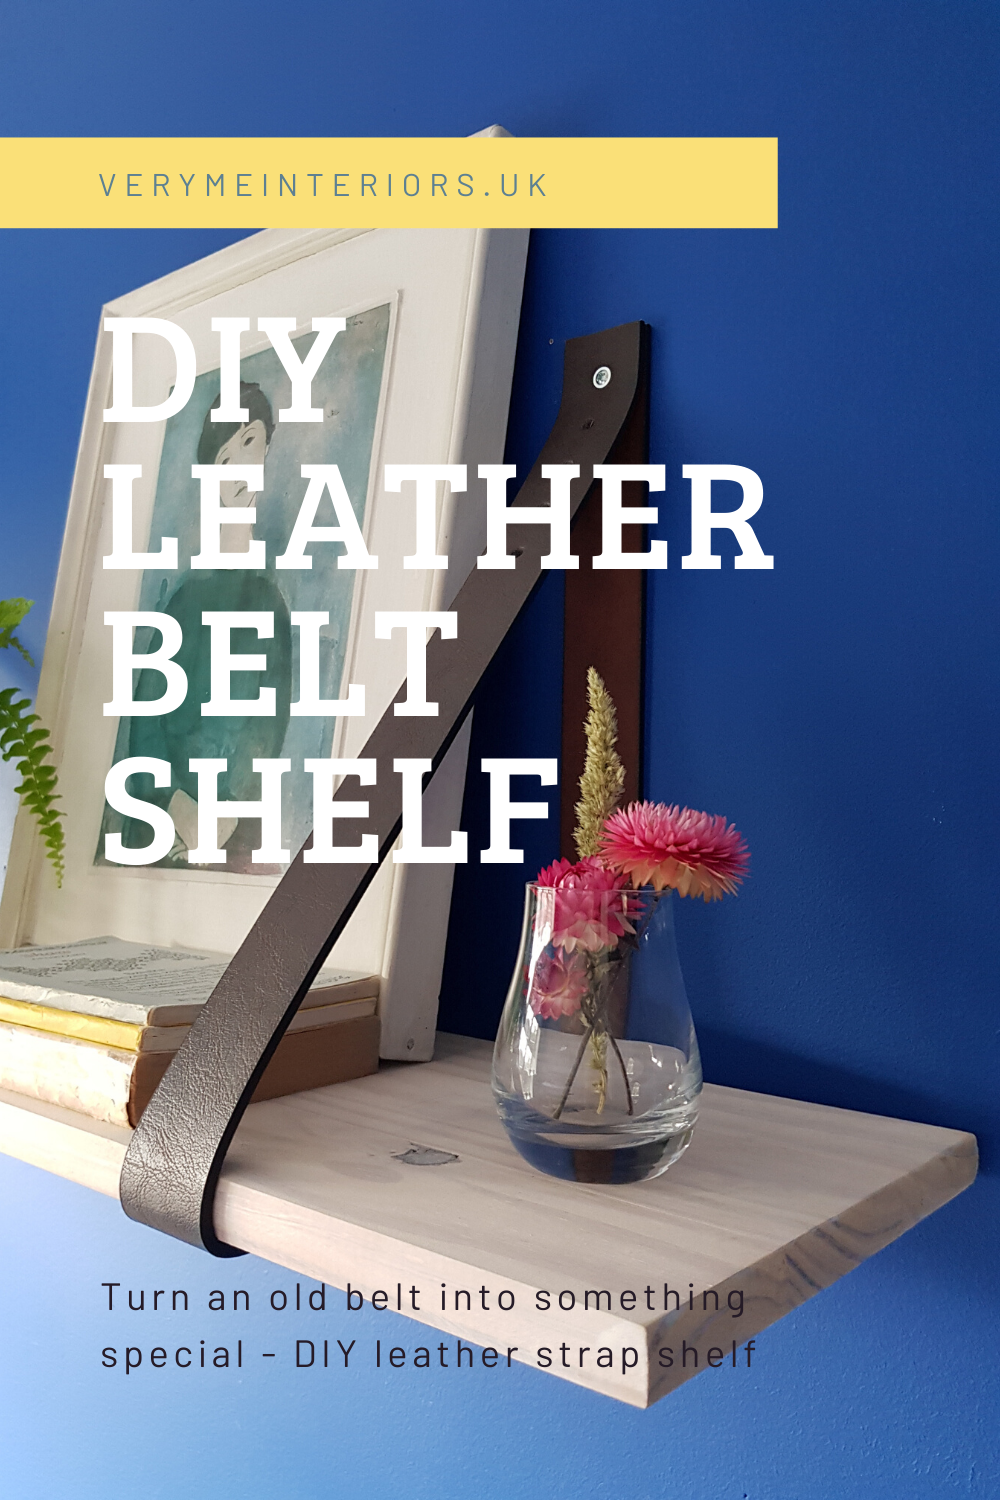
Living in a small home comes with some challenges. The biggest challange is definitely the space and how to maximise it. Fitting wall shelves is probably one of the best ways of maximising the space in your home. The problem is they can all look kind of the same. And if you want something a bit more fancy, then they come with the price tag. Not ideal, is it? So how about making your own DIY leather strap shelf with some old belts? It looks very stylish but can be done for as little as £10!
When Bosh DIY & Garden contacted me asking if I would like to try some of their new cordless tools and give one of their projects go, I literally jumped at the chance. I’m a big fan of cordless tools and they’re one of the reasons I’m into DIY so much. One battery works for all tools within the same voltage range so no more extensions leads or tangled cords!
I was asked to choose one of the projects from its website. But there are so many amazing projects over there, it’s hard to decide on just one. So if you ever feel you need some inspiration or step by step tutorials just head over there and you’ll be spoilt for choice.
Eventually I’ve decided to have a go at making my own leather strap shelf for our bedroom wall. Until now this wall was a home to a random selection of pictures that didn’t fit anywhere else in the house. And as the room is rather small there was no way we could fit any extra furniture in there. So this shelf seemed like the perfect fit. So if you want to try to make your own DIY leather strap shelf just carry on reading. I promise – it is easier than you think!
DIY leather strap shelf
What you will need?
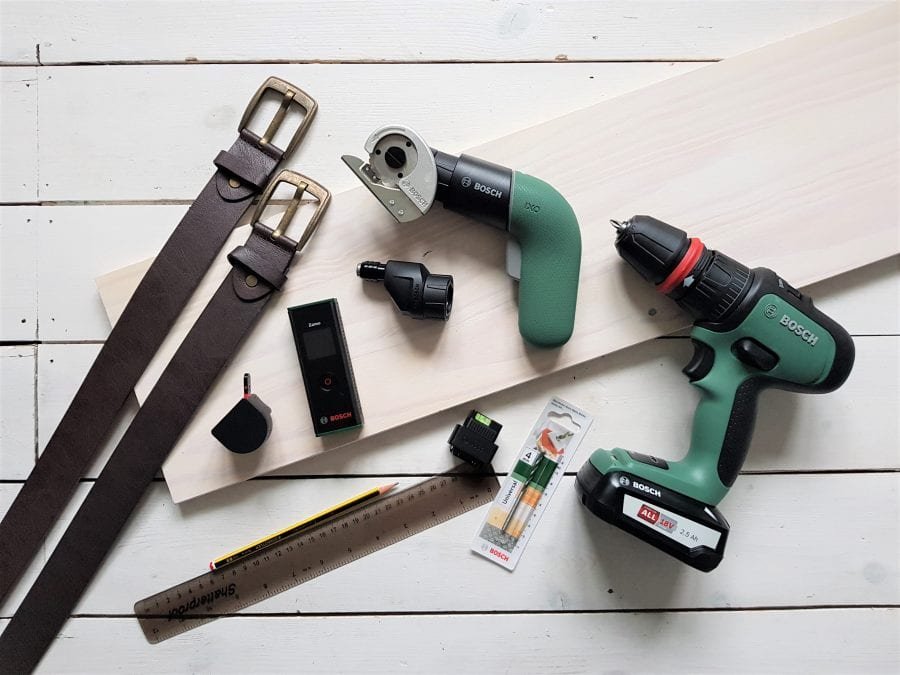
- ready bought wooden shelf or a piece of MDF cut to your desired size
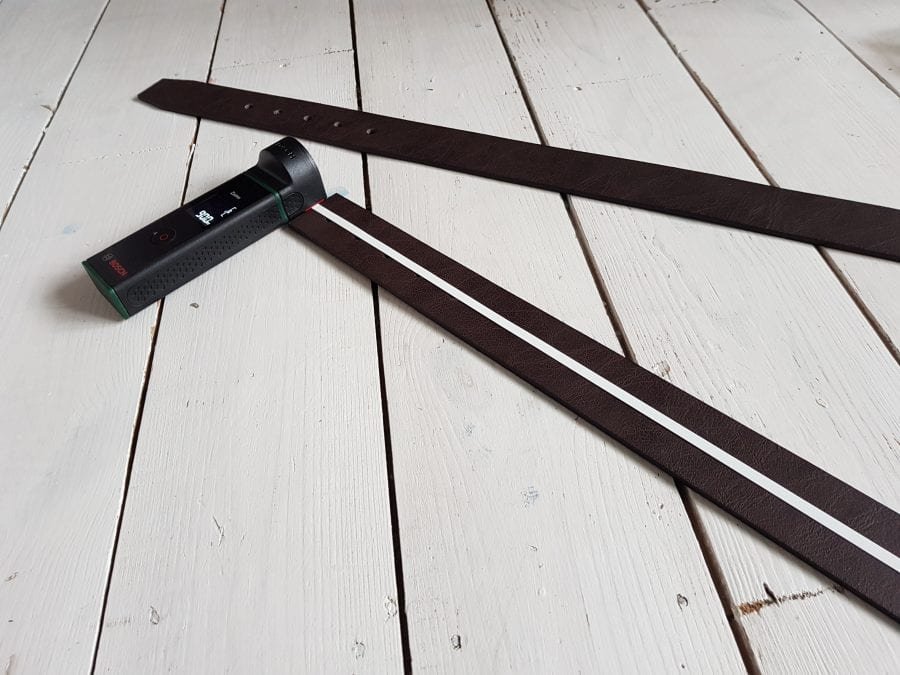
- 2 men’s size leather belts (ladies belts can be too short)
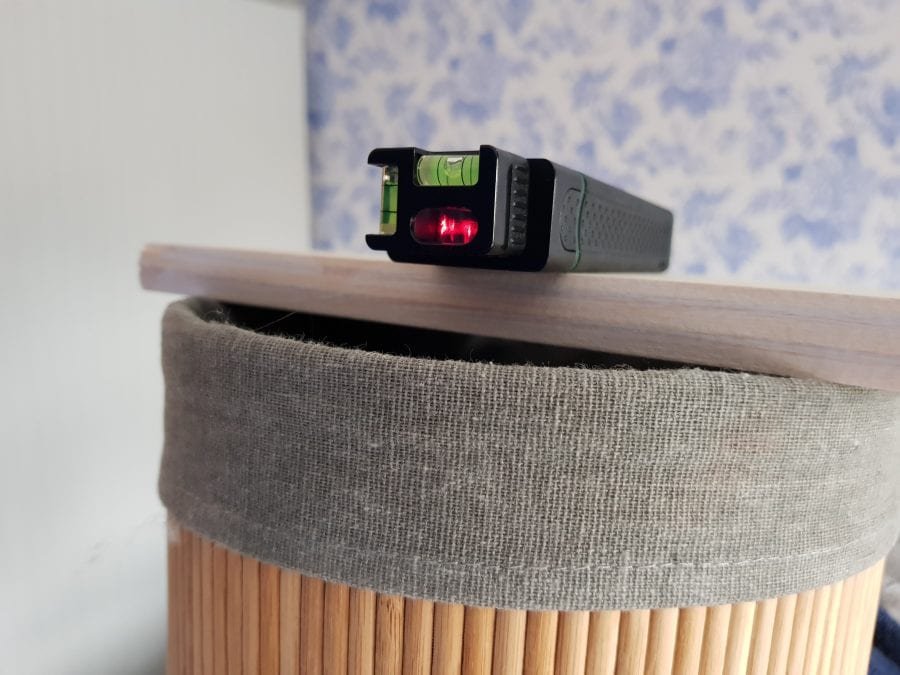
- Bosh Zamo laser measure with Tape Adapter and Laser Line adapter (my new best friend)
- pencil (for marking)
- Bosh iXO cordless screwdriver with Universal Cutter Adapter (alternatively you can use scissors but the cut won’t be as neat)
- Bosh Advanced Impact 18 Cordless combi drill with appropriate bits
- screws and wall plugs
The cost
The cost of this DIY leather strap shelf will highly depend on what you already have in the house. I used one of my son’s old shelves we took down recently. Just gave it a paint wash and it was ready to use. As all the tools were supplied by Bosch, I just needed to buy some leather belts and they only cost me £10 for two. And that was how much I’ve spent in total. But you may already have some old leather belts in the house (or not so old but your partner won’t notice their disappearance). In that case the cost of making this belt shelf would be zero! Still need convincing?
How to make this DIY leather strap shelf?
Firstly you need to prepare the belts. You want two exactly the same length straps for your shelf. No buckles. The holes that are already in the belts are fine, they add a decorative element to it. The first hole (the furthest from the buckle) will be the one used for attaching the shelf to the wall. Make a first cut around 1cm away from the first hole. You can use scissors but IXO cordless screwdriver with cutter adapter makes it so much easier. Repeat with the other belt.
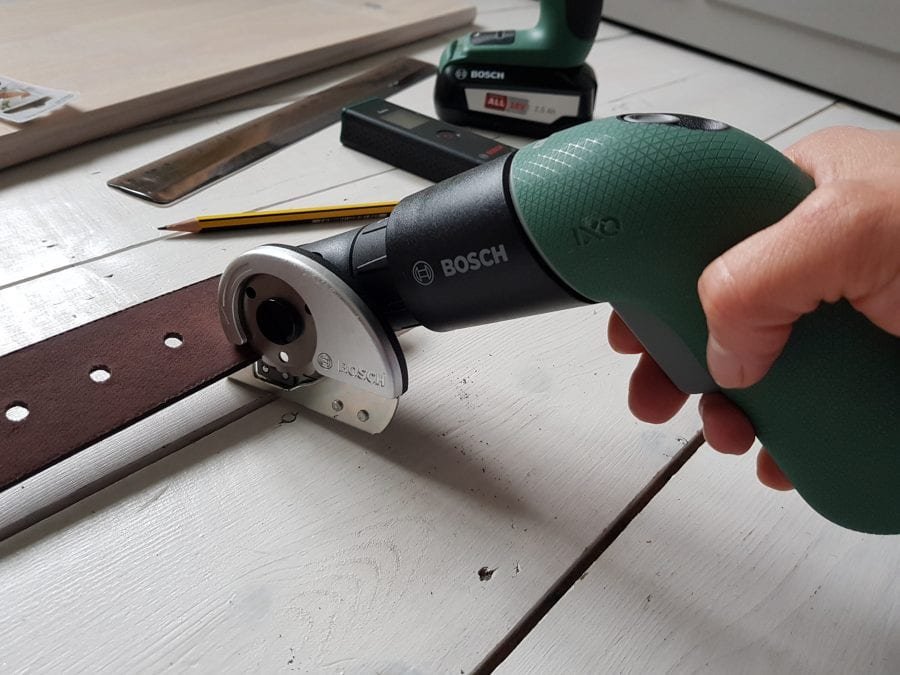
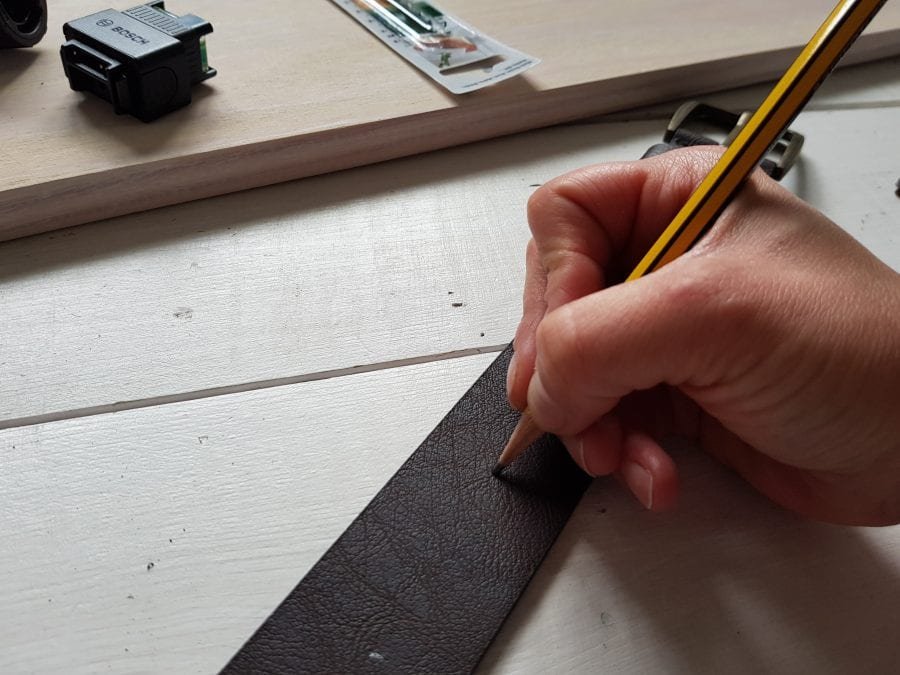
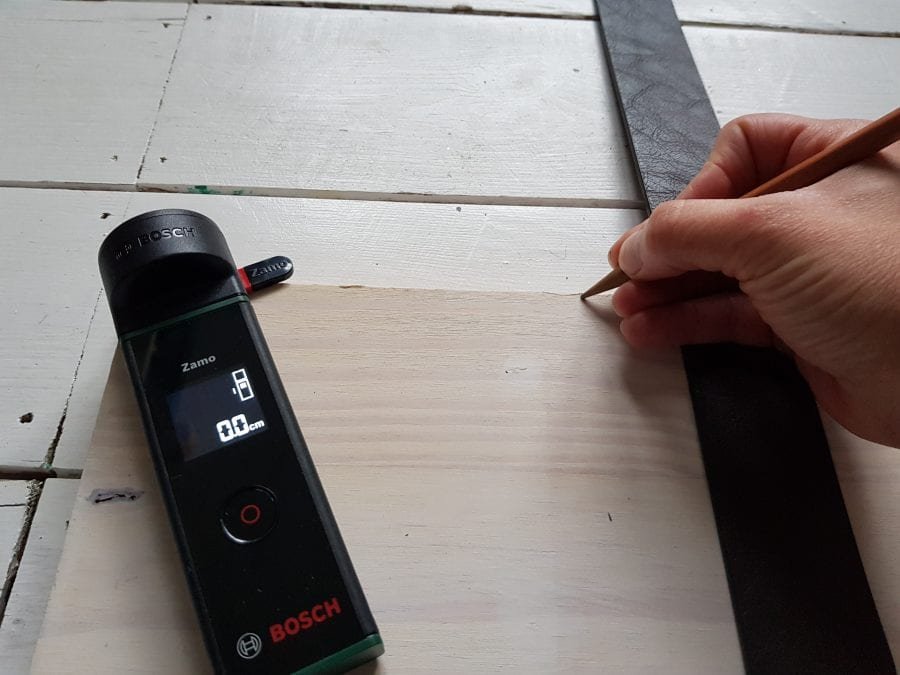
Now measure around 90cm away from where you’ve just made a cut and mark with a pencil. That’s where you’re gonna make a second cut. Repeat with the other belt.
Always read the instructions before using IXO cordless screwdriver with a Universal Cutter Adapter for the first time!
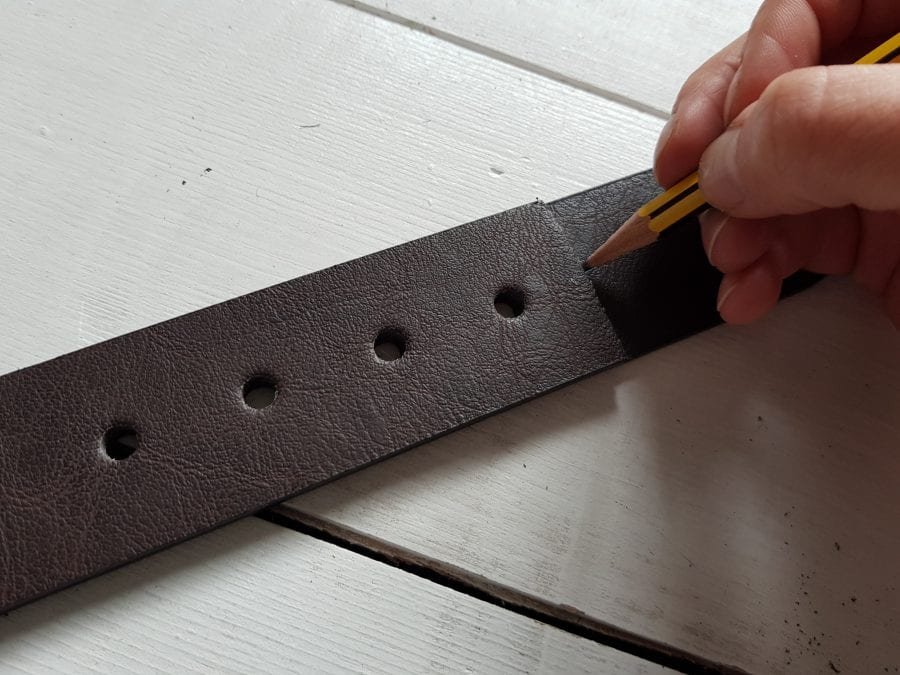
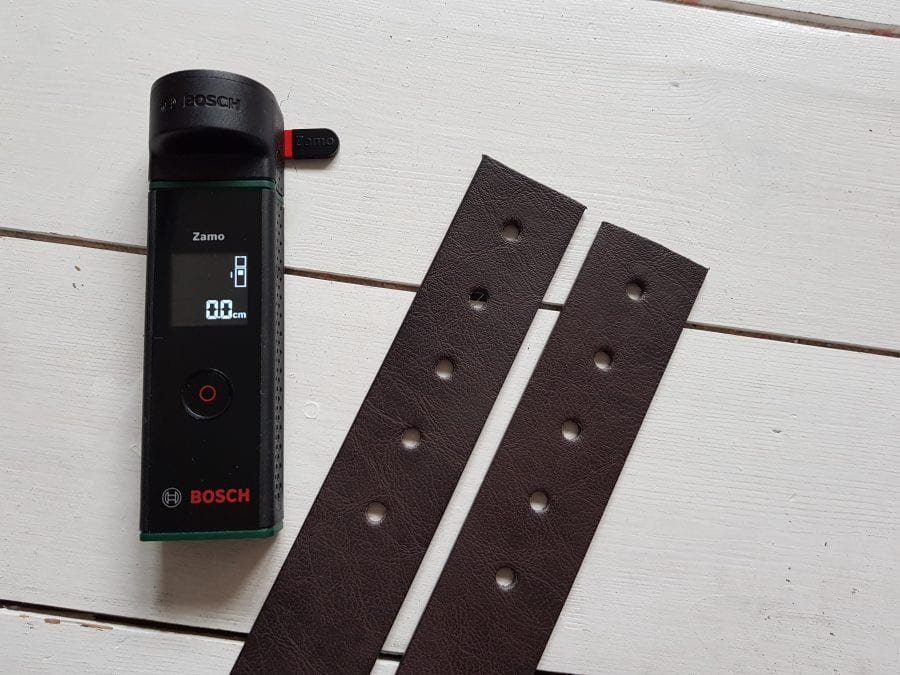
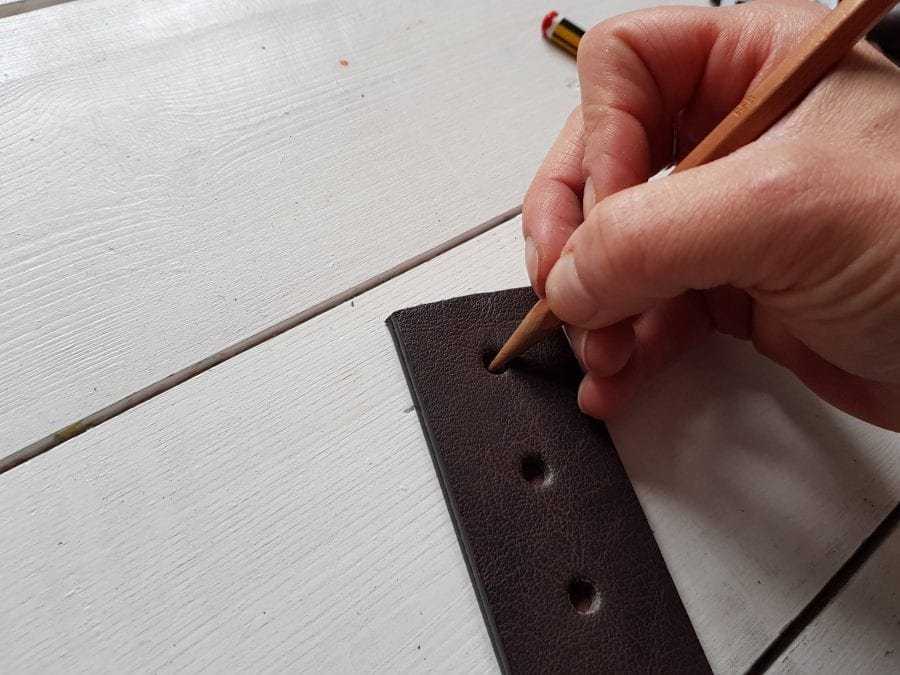
Now you will need to make a hole at the other end of the belt (for the screw to go through when attaching to the wall). It needs to be the same distance from the edge as the first one. The easiest way to do it is by folding the belt in half (make sure the edges meet). Mark it through the first hole with a pencil and using a cordless drill make a hole in the marked spot. Now repeat with the other belt.

Now you have your leather straps ready you can mark on the board the position of the belts. Just remember, as much as decorative they are, their main purpose is to hold the weight of the shelf and whatever you fancy putting on there ( just don’t put too much). So the belts need to be in equal distances from both edges. You don’t want them too close to the edges but not too far away either. Decide on the right distance and measure it up. Mark it with a pencil. Then repeat on the other side of the shelf. Now you not only know that your straps will be equally distributed but also you’ll know exactly where to drill the holes in the wall.

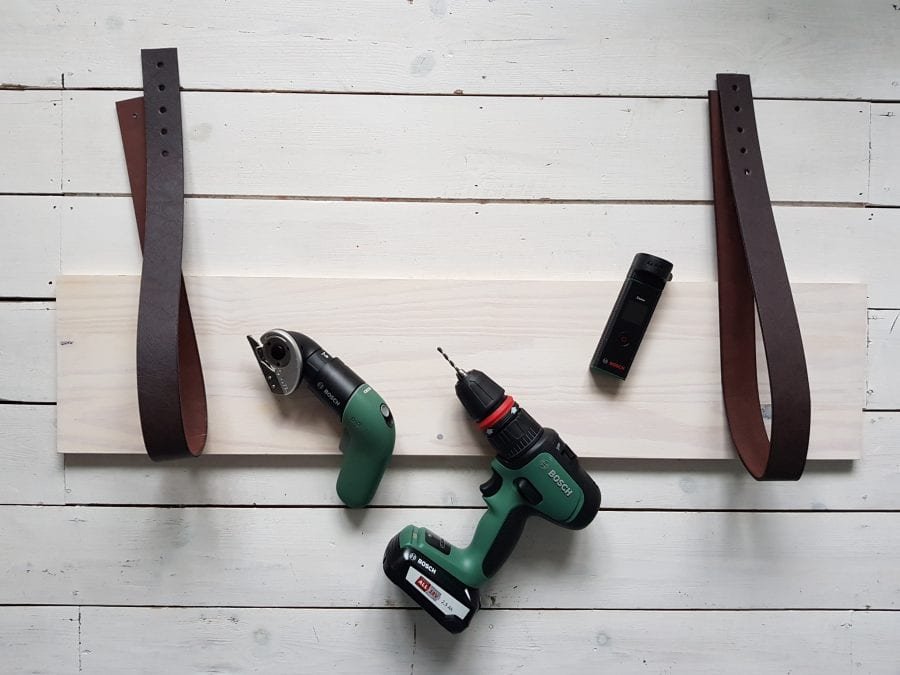
And there you go. You now have everything ready to put your DIY leather strap shelf up on the wall.
Now, I could finish here but as I already mentioned Bosch’s Zamo laser measure has become my new best friend. And here’s why… It’s available as a set with three adapters. And its laser line adapter in particular just made my whole life a lot simpler. I’ve been known for running around the house with a hammer or a drill constantly hanging and rehanging things (like shelves or pictures). But there’s been one skill that neither me nor my partner ever really got to grips with. And that is – hanging things straight! It’s almost like I have this special talent for hanging things NOT STRAIGHT!
But no more!
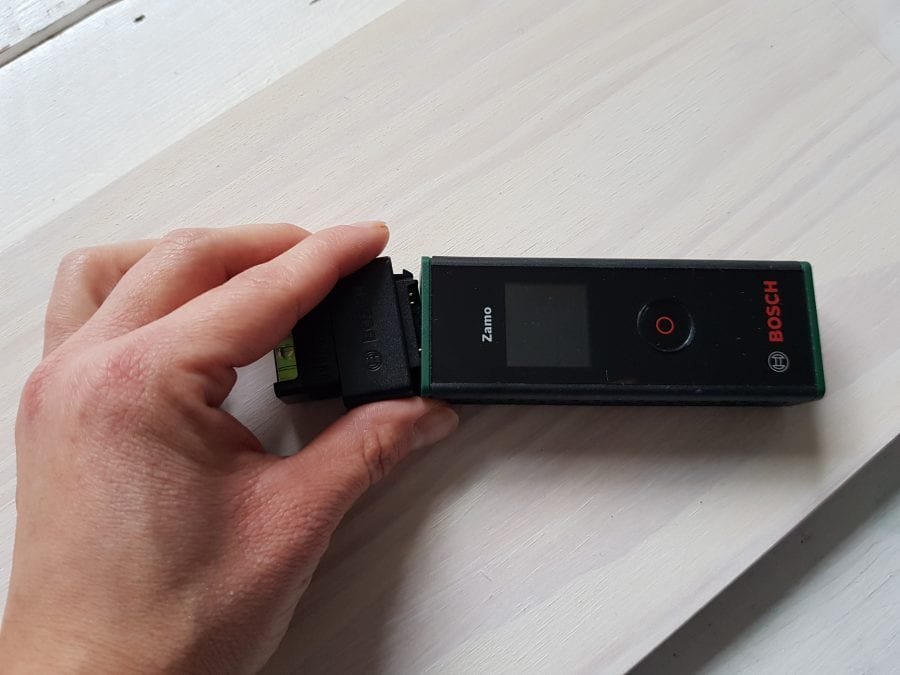
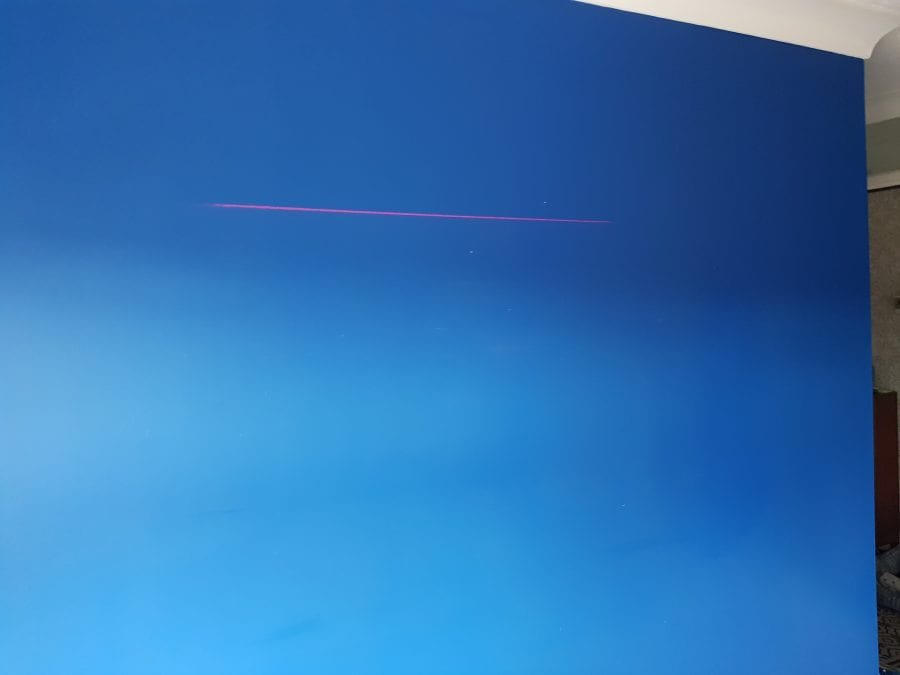
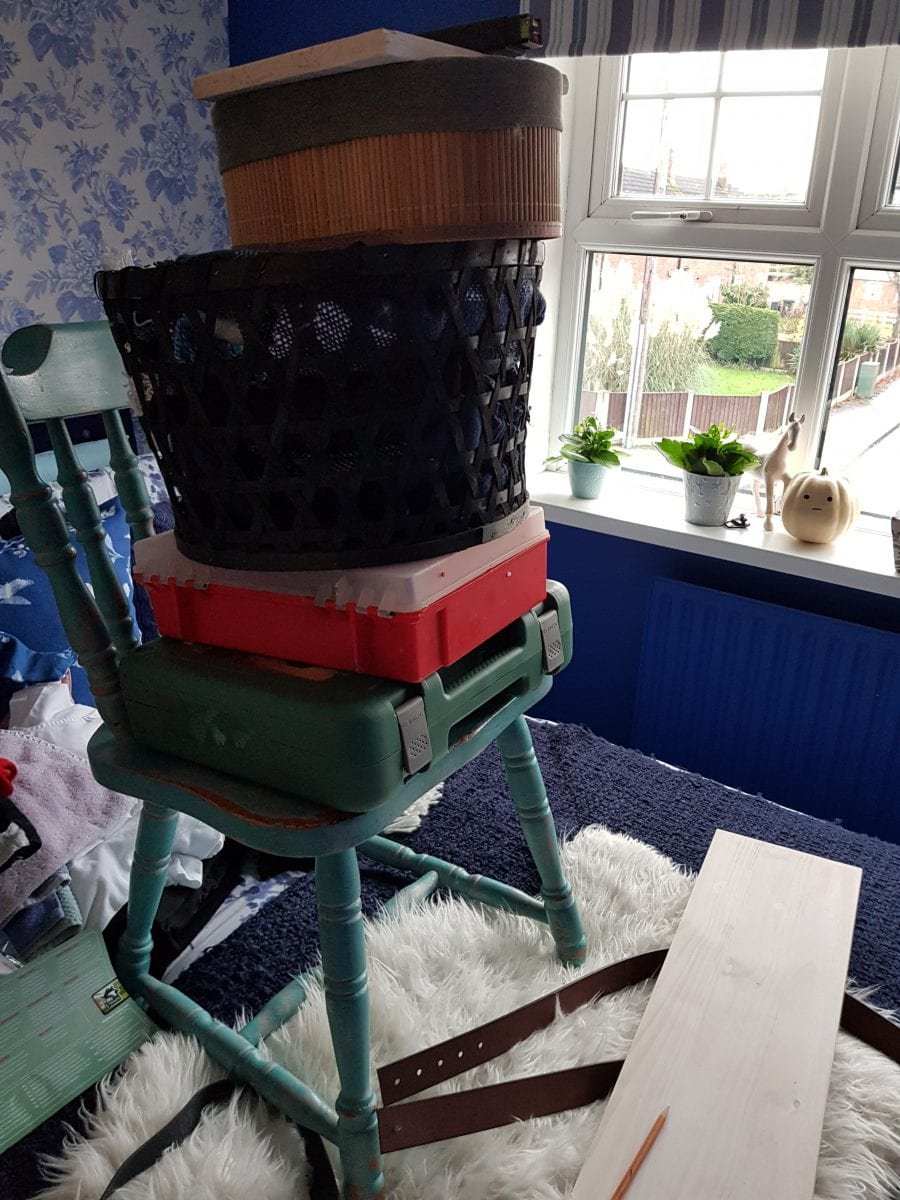
When you insert the laser line adapter into your Zamo laser measure (which is super easy to do), it will project a line on the wall. And guess what? The line is straight. So you know that your new leather strap shelf will be hung straight. You can use a ladder or chair and some books to project the line to your desired height.
Make sure you don’t project into your or someone else’s eyes!
And here’s my little tower I’ve made to project my line (please excuse the mess)
But remember that the line is where the straps will be attached to the wall. The shelf itself will be about 20 cm lower. So take that under consideration, otherwise you’ll end up with a shelf at the height of a table.
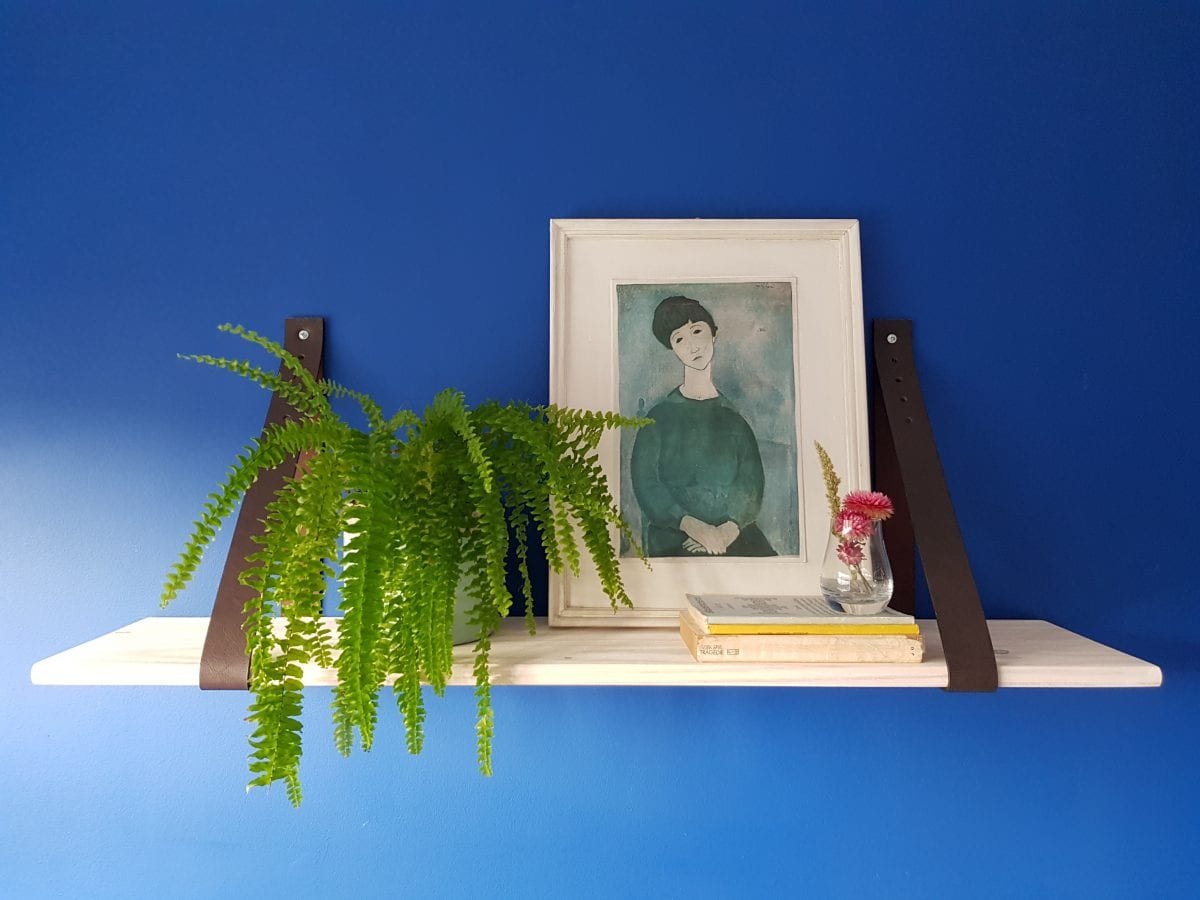
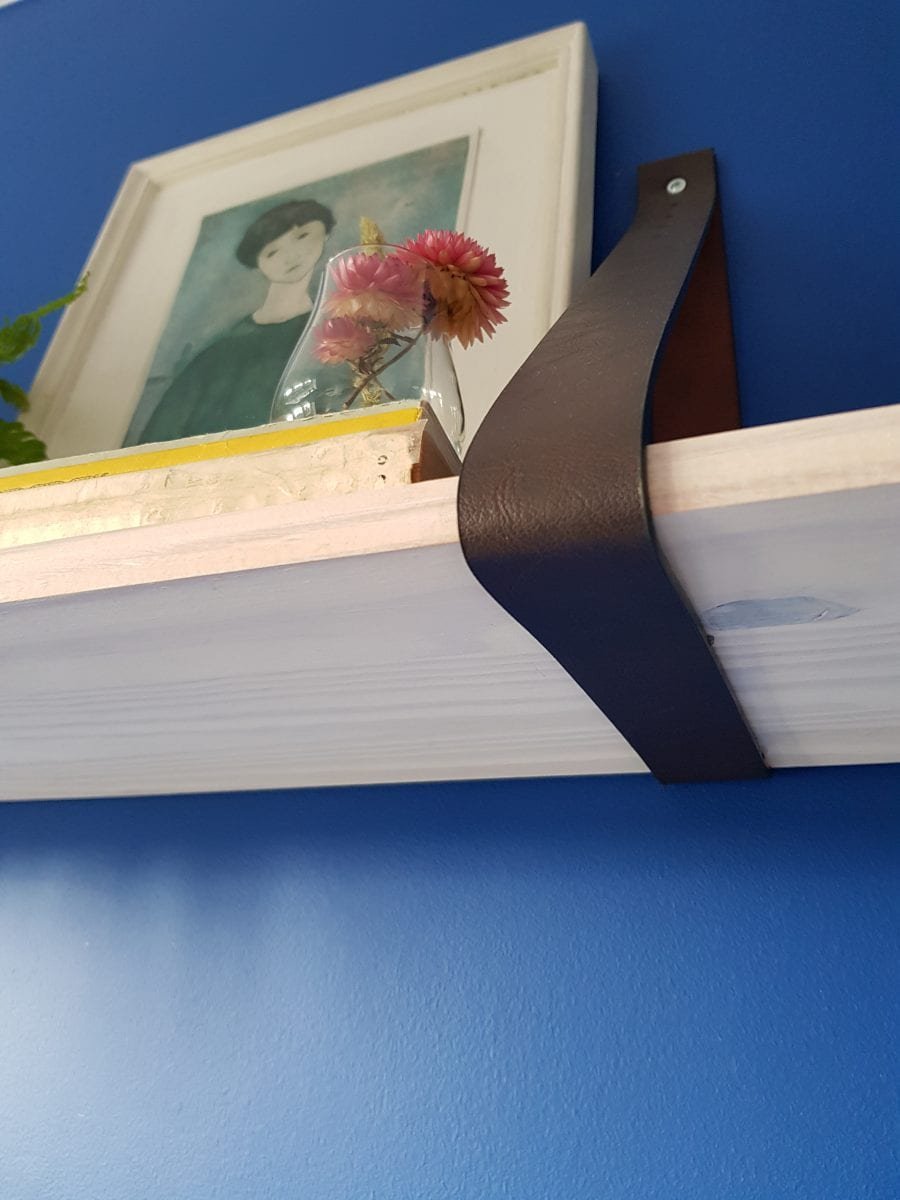
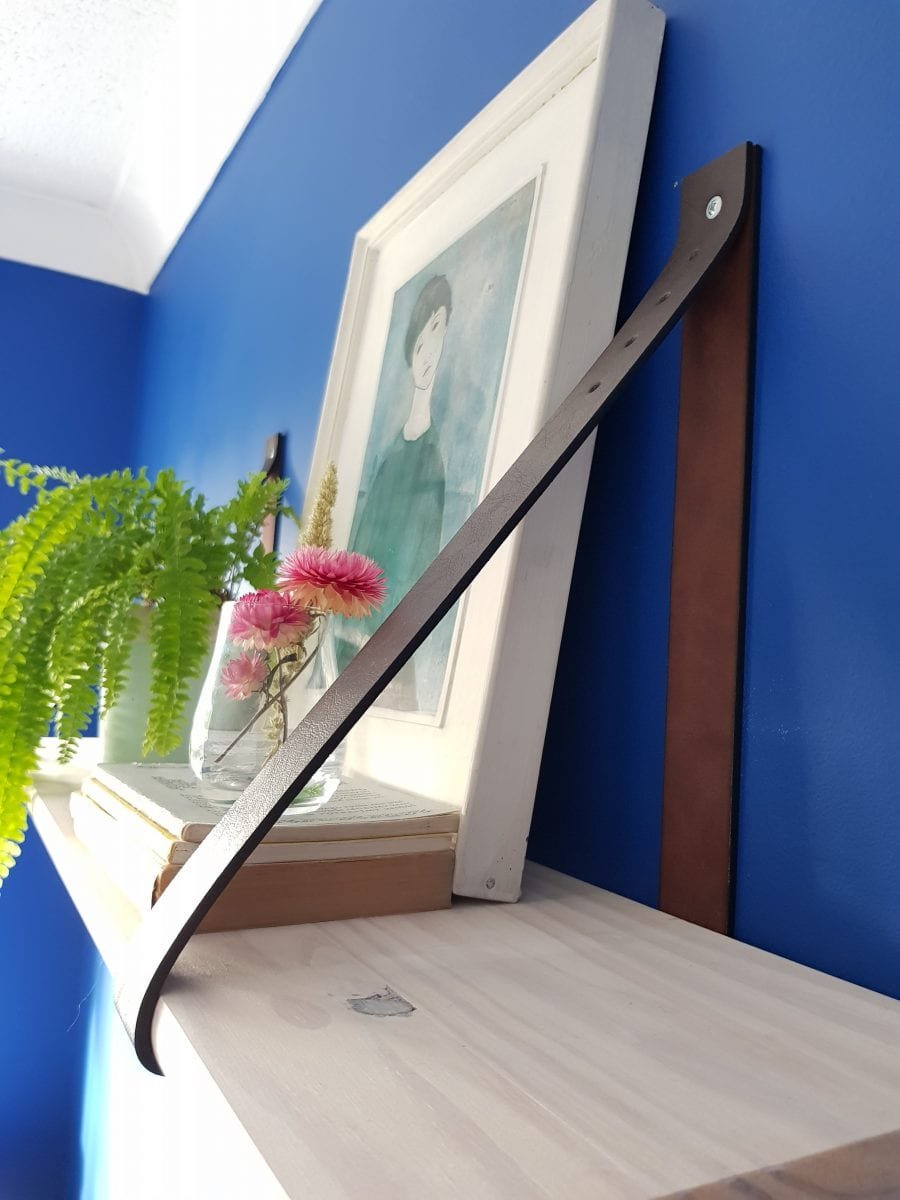
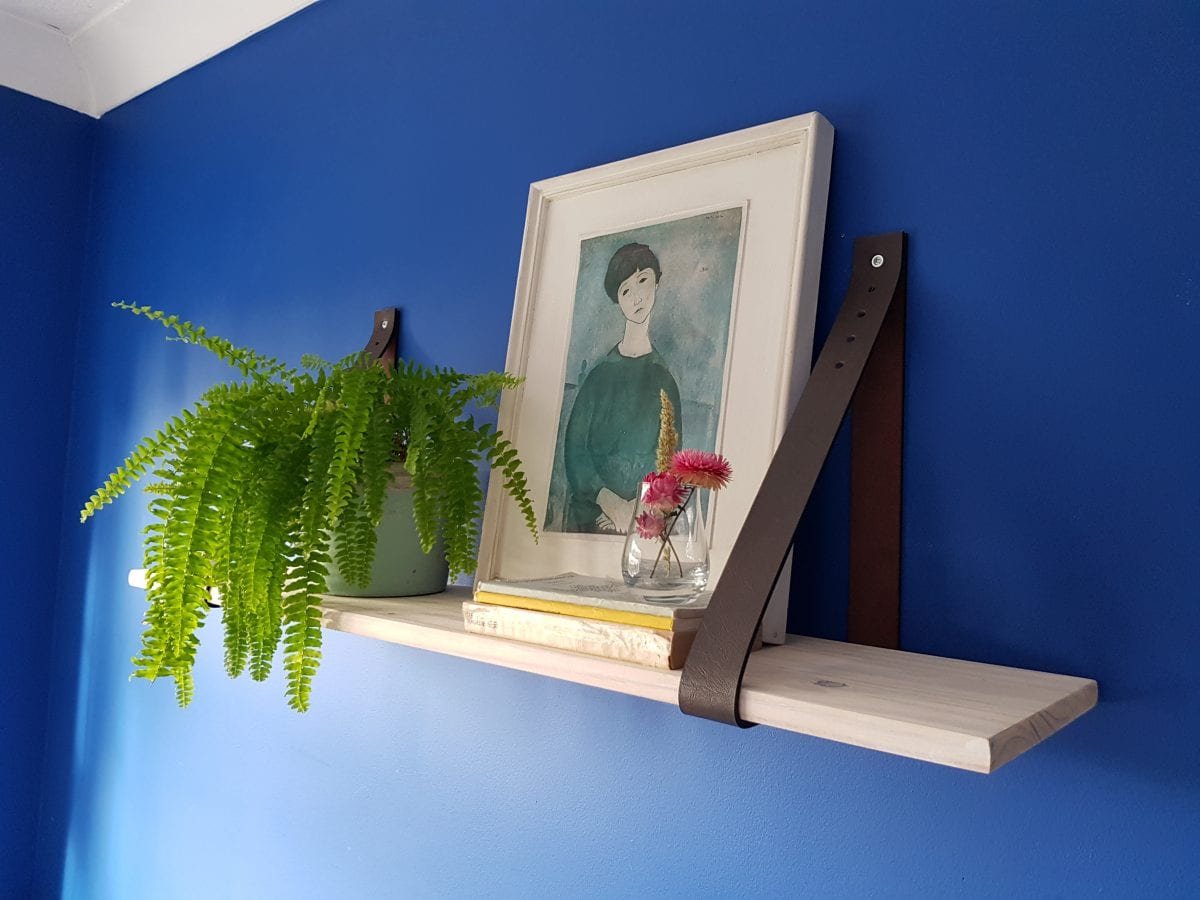
Take your shelf and line it up with the line on the wall. Transfer the markings you made on the shelf onto the wall. This is where you need to drill the holes. Insert the plugs and attach the belts to the wall with two screws. Then put the shelf up. You can secure the belts to the shelf with little nails or screws. Alternatively you can use a double sided tape or a hot glue gun. And that’s it. You’ve made yourself a pretty shelf! Now all that’s left to do is to style it. So have fun!
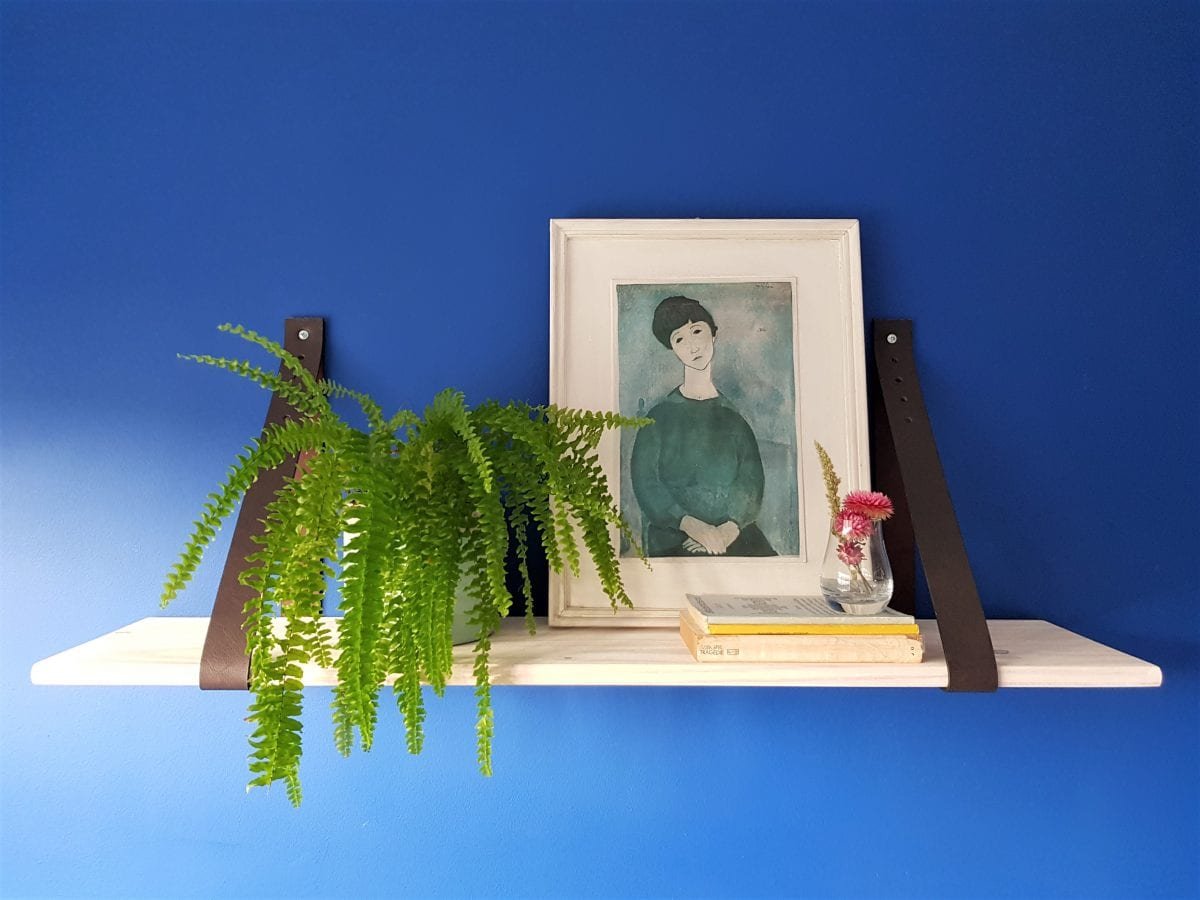
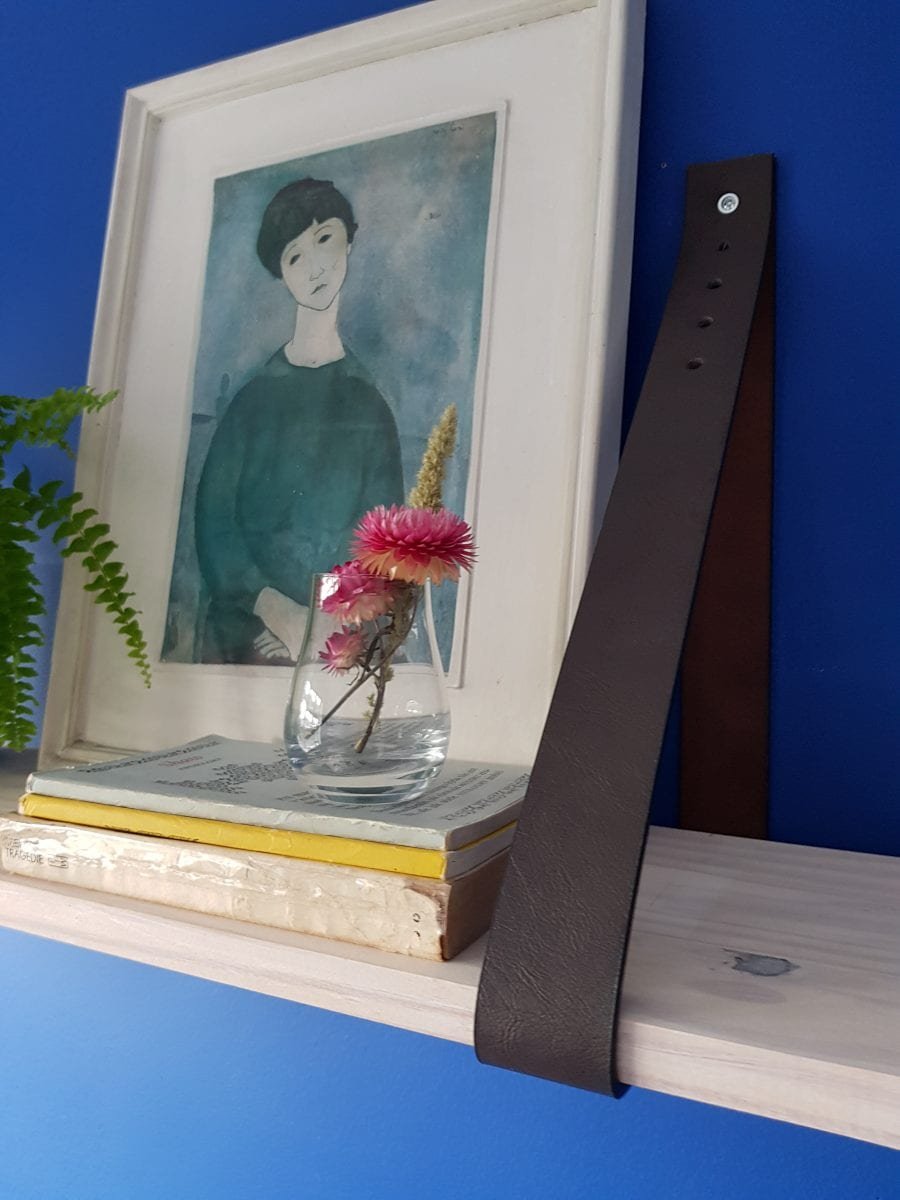
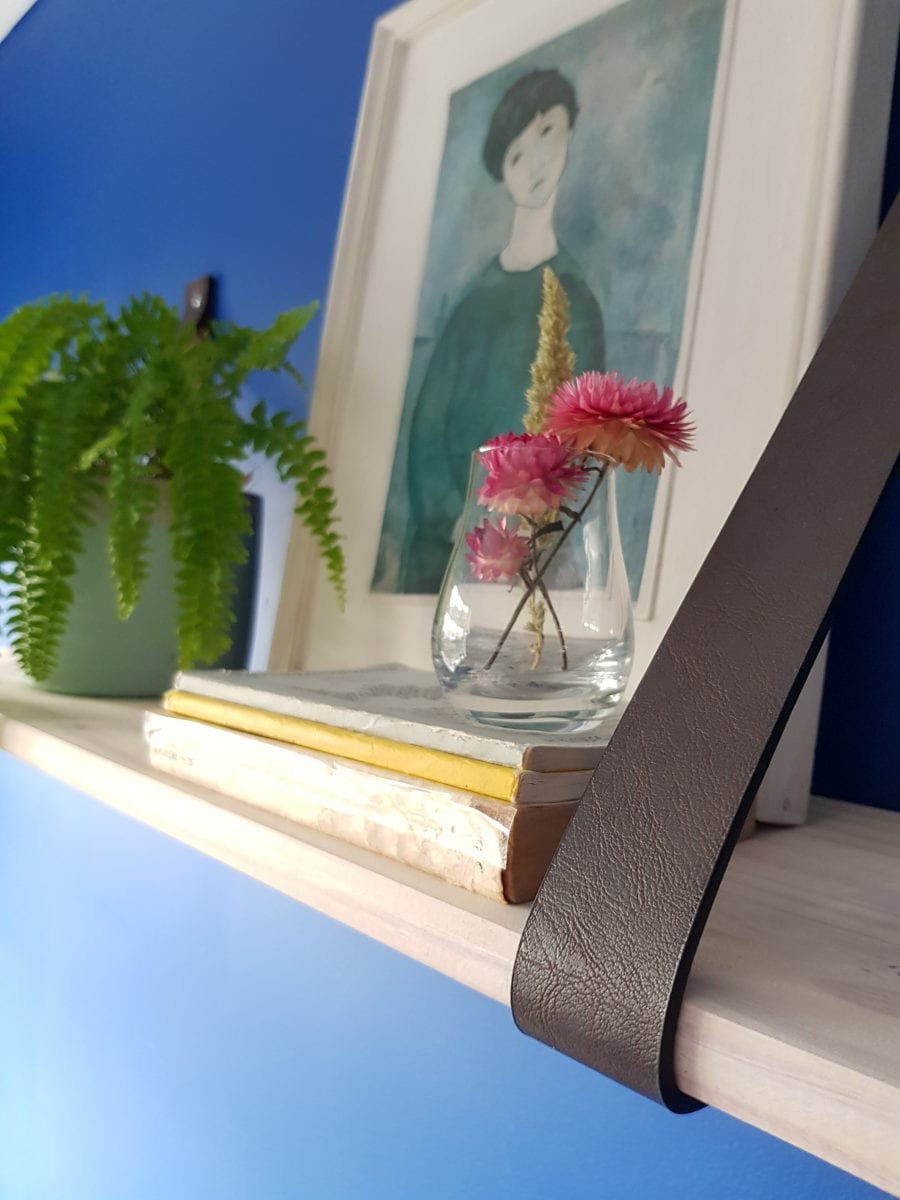
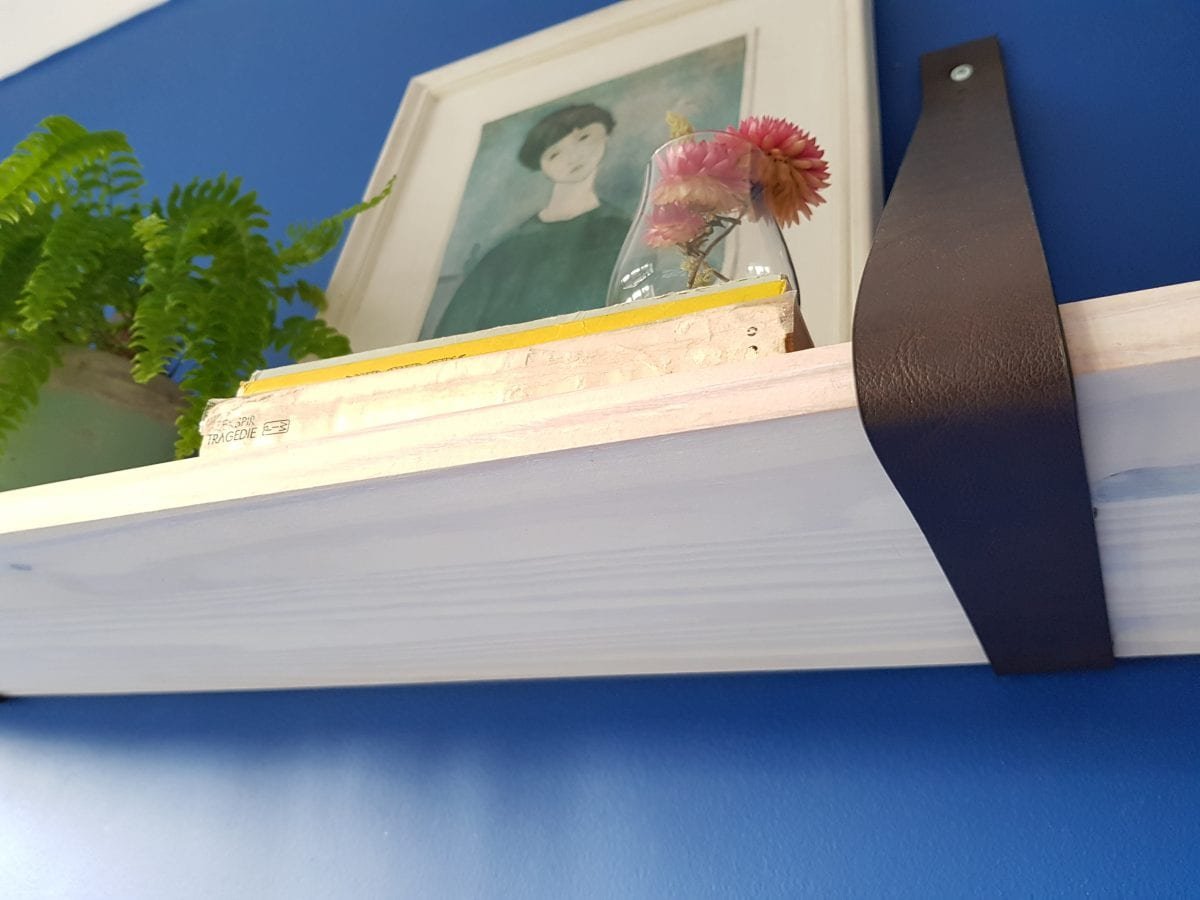
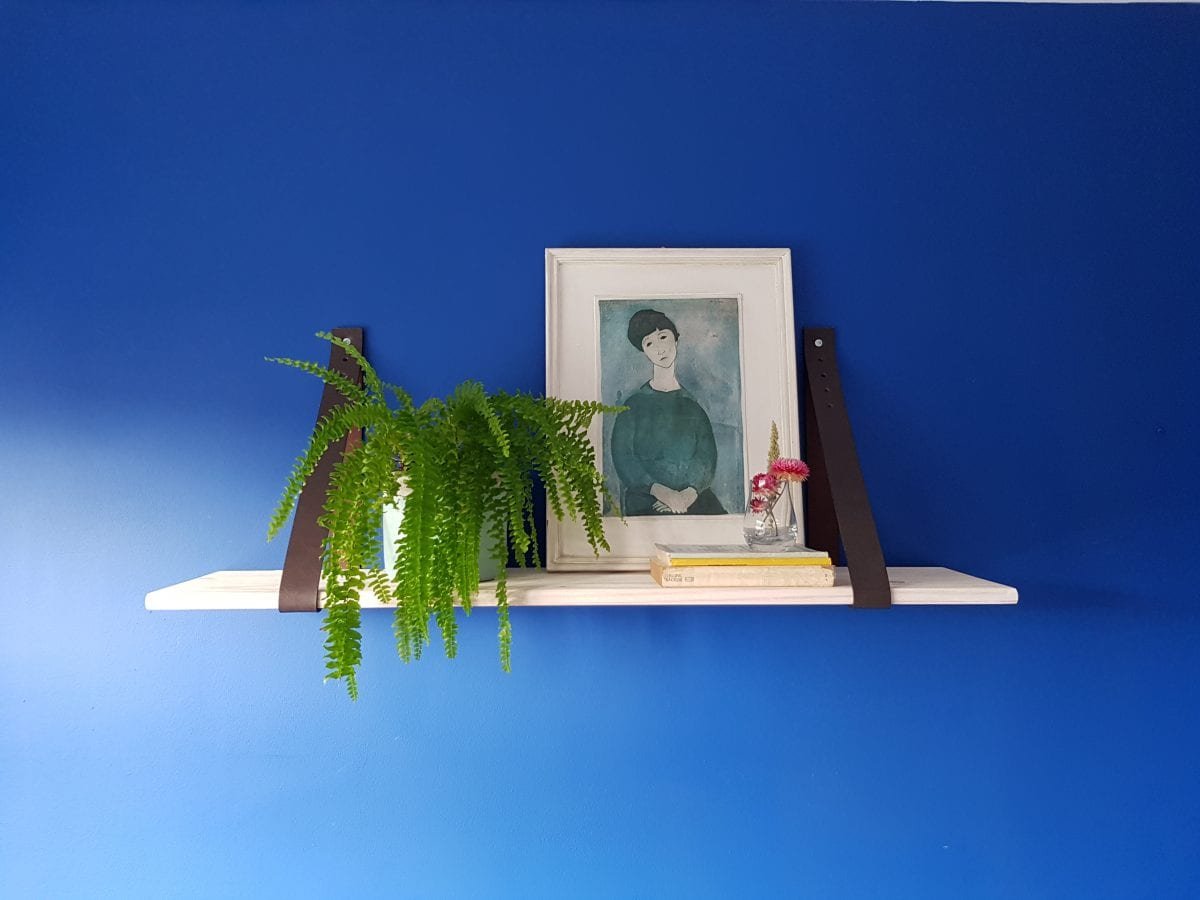
And here’s my leather strap shelf up on the wall. I couldn’t be more happy with how it’s turned out (and how straight it is hung). What do you think?
Want to try a similar project? How about making a wall letter sign? You can read about it here. And don’t forget to visit Bosh DIY & Garden website for even more ideas!