Do you ever get stuck for DIY ideas? Does the line between your own and someone else’s idea gets a bit blur sometimes? Well… I saw this DIY wall letters sign in one of the TV programmes about interior design. As much as would like to give credit for this to someone, I just simply can’t remember who it was and what programme was it. And as I only saw the end result I had to come up with my own technique. And there it is…
Step by step guide to making a DIY wall letters sign
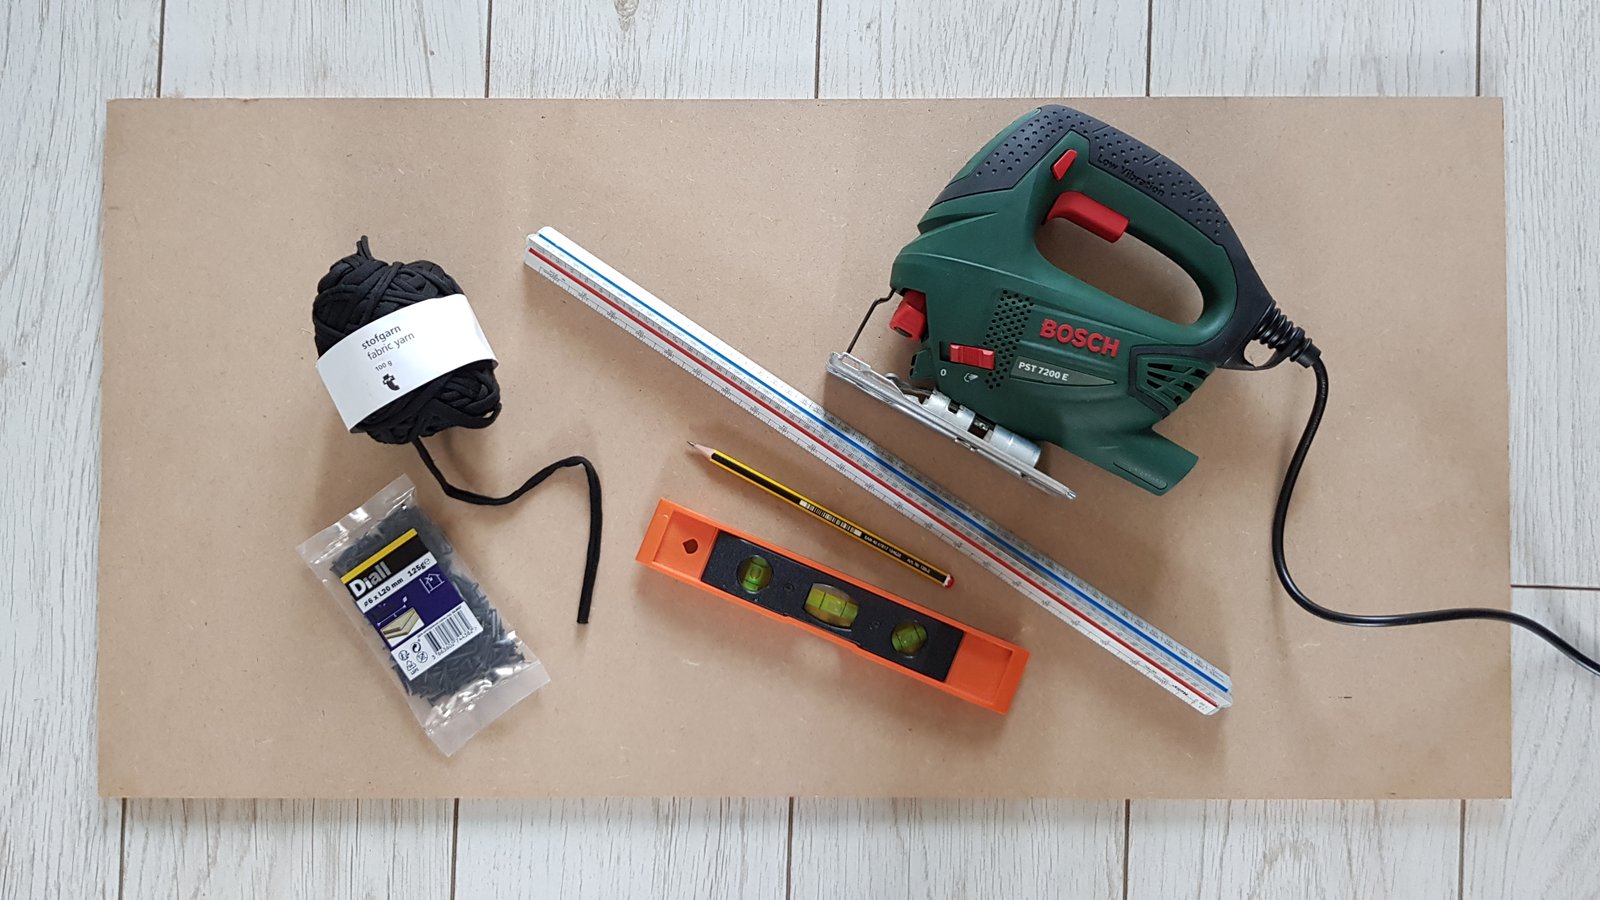
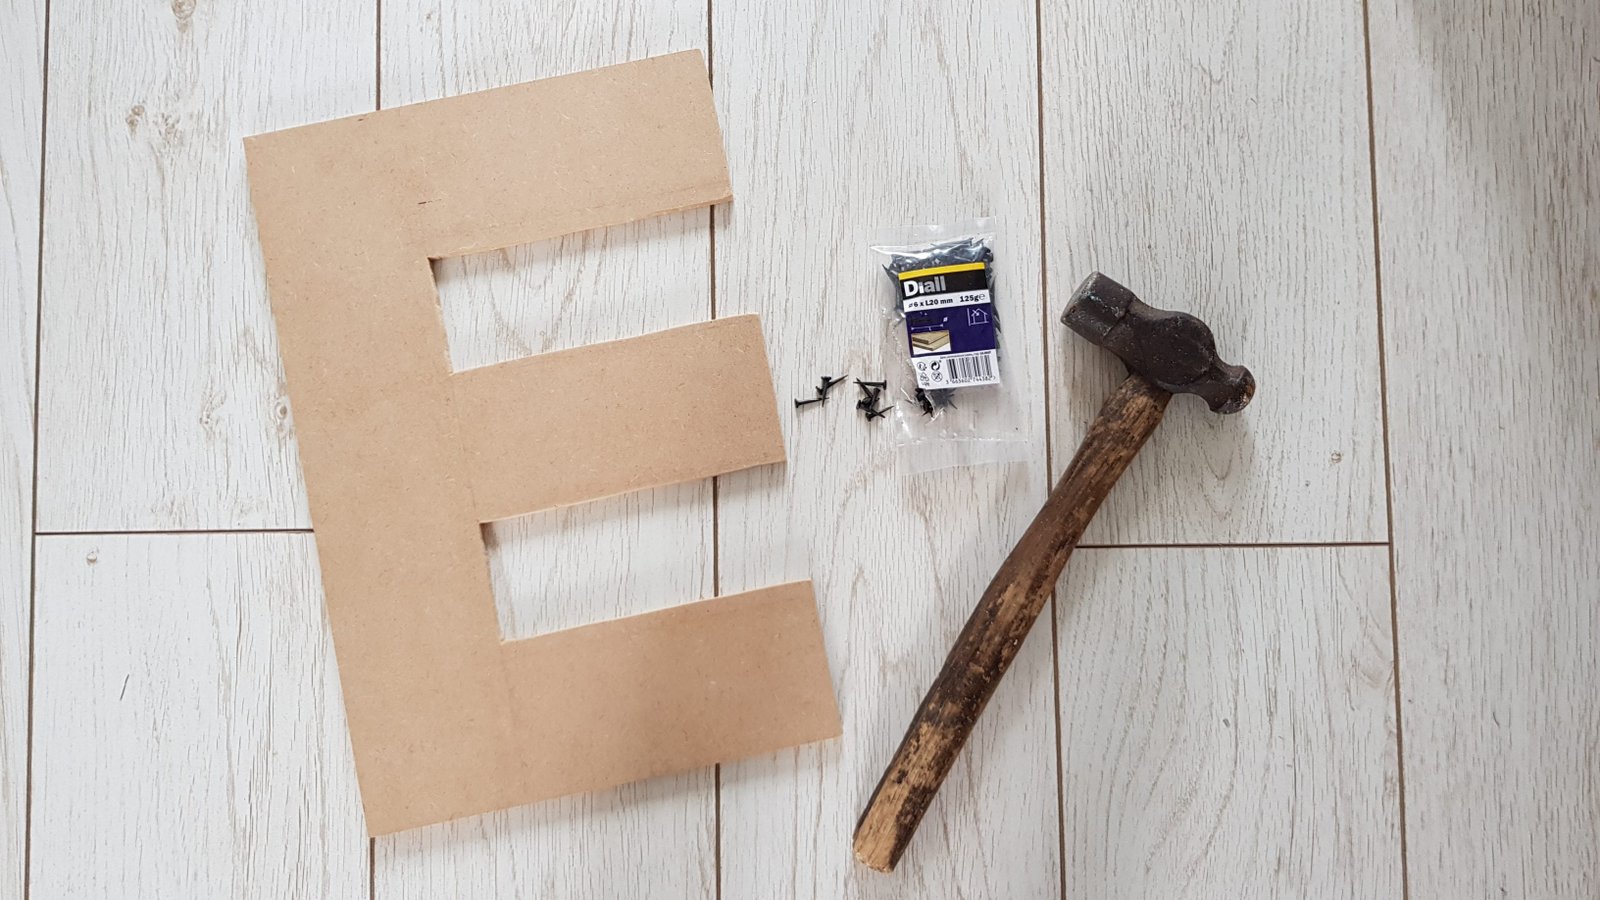
First of all, here is a list of things that you will need for making this wall sign:
- chipboard or plywood or any other type of wooden boards that are easy enough to be cut (
- jigsaw
- pack of short black nails (the ones from a DIY, not a beauty store)
- black fabric yarn or a bungee cord
- pencil and a ruler
- sandpaper
First you need to decide on the word. EAT has only three letters and no awkward shapes so should be easy enough whatever your DIY skills are. And especially if you’re not very confident jigsaw user, like me. Although if you like having all your fingers and thumbs you still have to be fairly confident with it. But it’s better to be safe than sorry, so remember there’s no shame in asking for help! But if you’re still reading this, your skills are probably better than mine and I’m happy to report no fingers have been lost in making this wall sign!
So with health and safety out the way, let’s focus on how to make the wall letters.
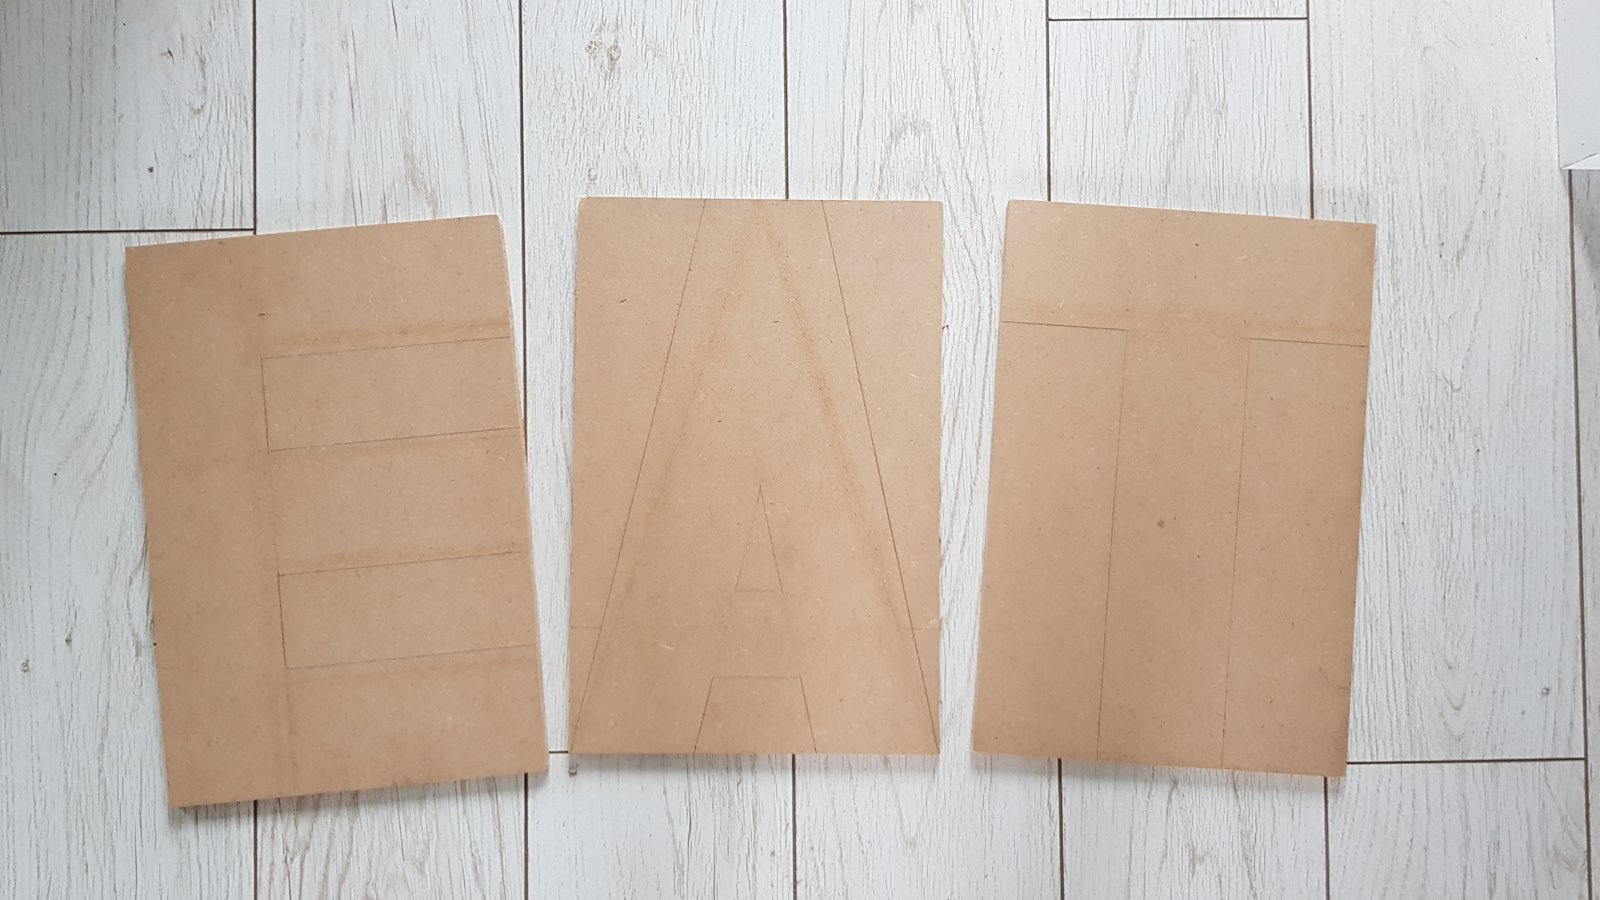
Start by cutting the board into as many pieces as the letters in your chosen word. As my word was EAT and my board was fairly small I needed to divide my board into three sections (marked with a pencil and a ruler). Therefore only two straight cuts along the lines were needed at that stage. Easy!
(B&Q offers free cutting service for up to five cuts so you can save yourself some time by asking them to cut the board for you while you’re there)


Sand the edges down a little bit before drawing the letters on each of the boards. Use a ruler to measure the letters’ width, as they all should be the same. Use a rubber to rub off any mistakes if needed. And as this is a bit of a guessing game, there sure will be some so don’t be disheartened (just look at mine).
Next step…
Once you have your letters drawn out there are ready to be cut. You don’t have to start with the first letter. Start with the easiest one, leaving the trickiest one till the end. That way you can practise on straight lines before you get to the tricky bit.
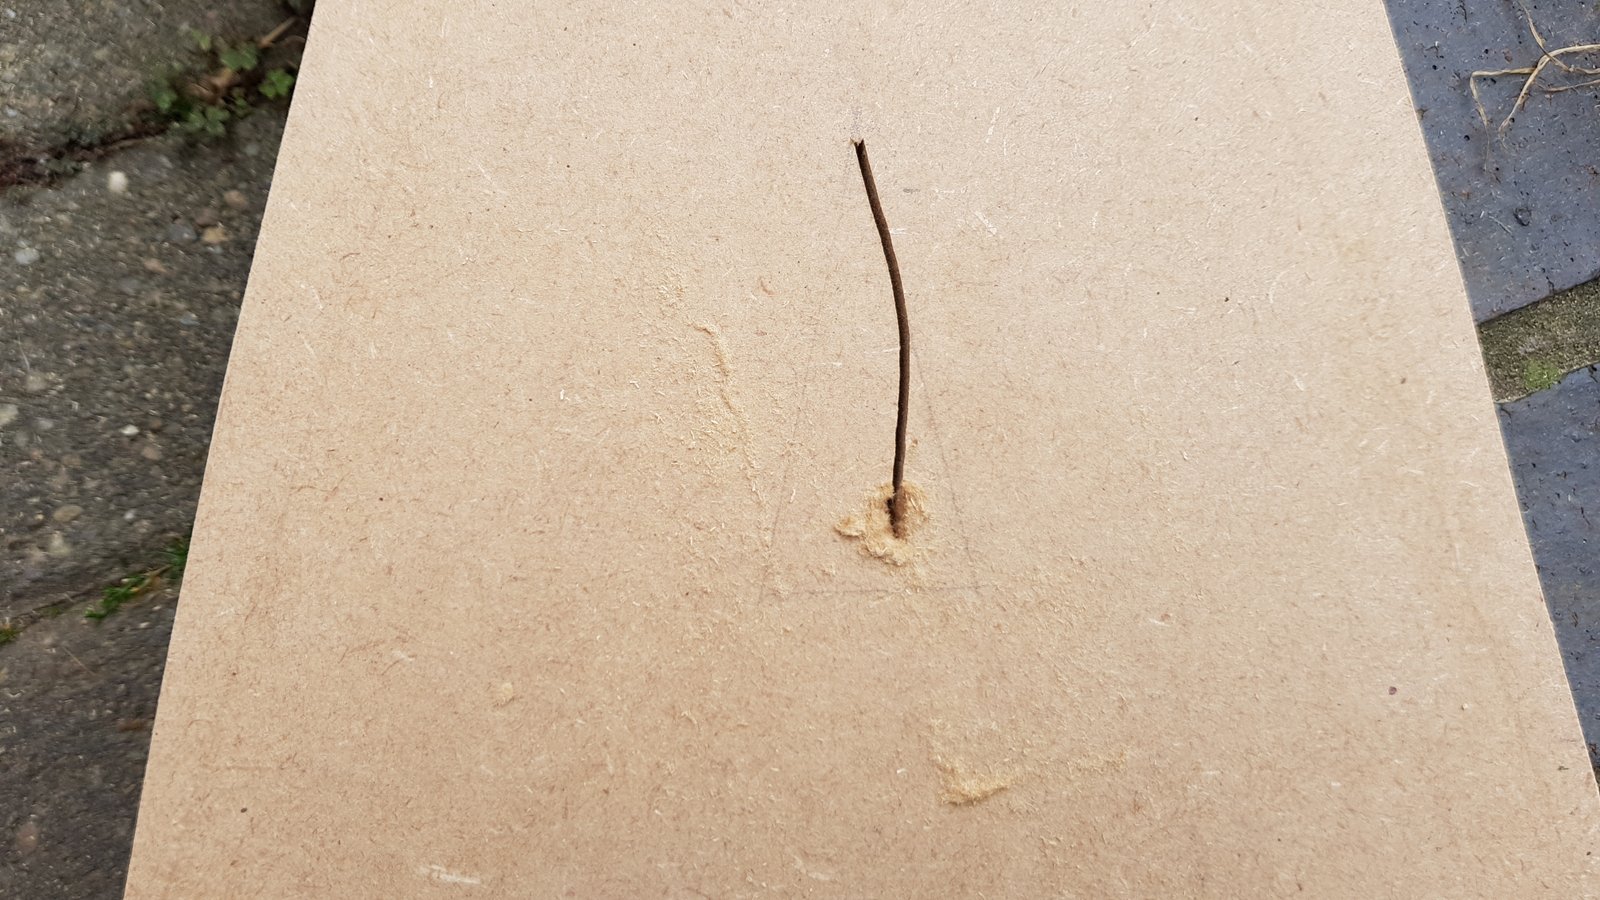
My tricky bit was the triangle in the middle of the letter A. The easiest way to deal with it is by making a hole in the middle. It needs to be gig enough for the jigsaw blade to go through. Then cut across to the nearest straight line and follow the line.
Once all the letters are cut, they need to be sand down at the edges. And that’s it for the difficult part. Your DIY wall letters are ready. Now on to decorating them!
As I mentioned at the beginning of this post, I saw this idea on TV but I didn’t see the making process, just the end result. But I liked it enough to make my own version. And now you can make your own version too, or you can carry on by following the next steps.

There are only two next steps but it will probably take longer to decorate the wall letters than it took to cut them out. So be patient!
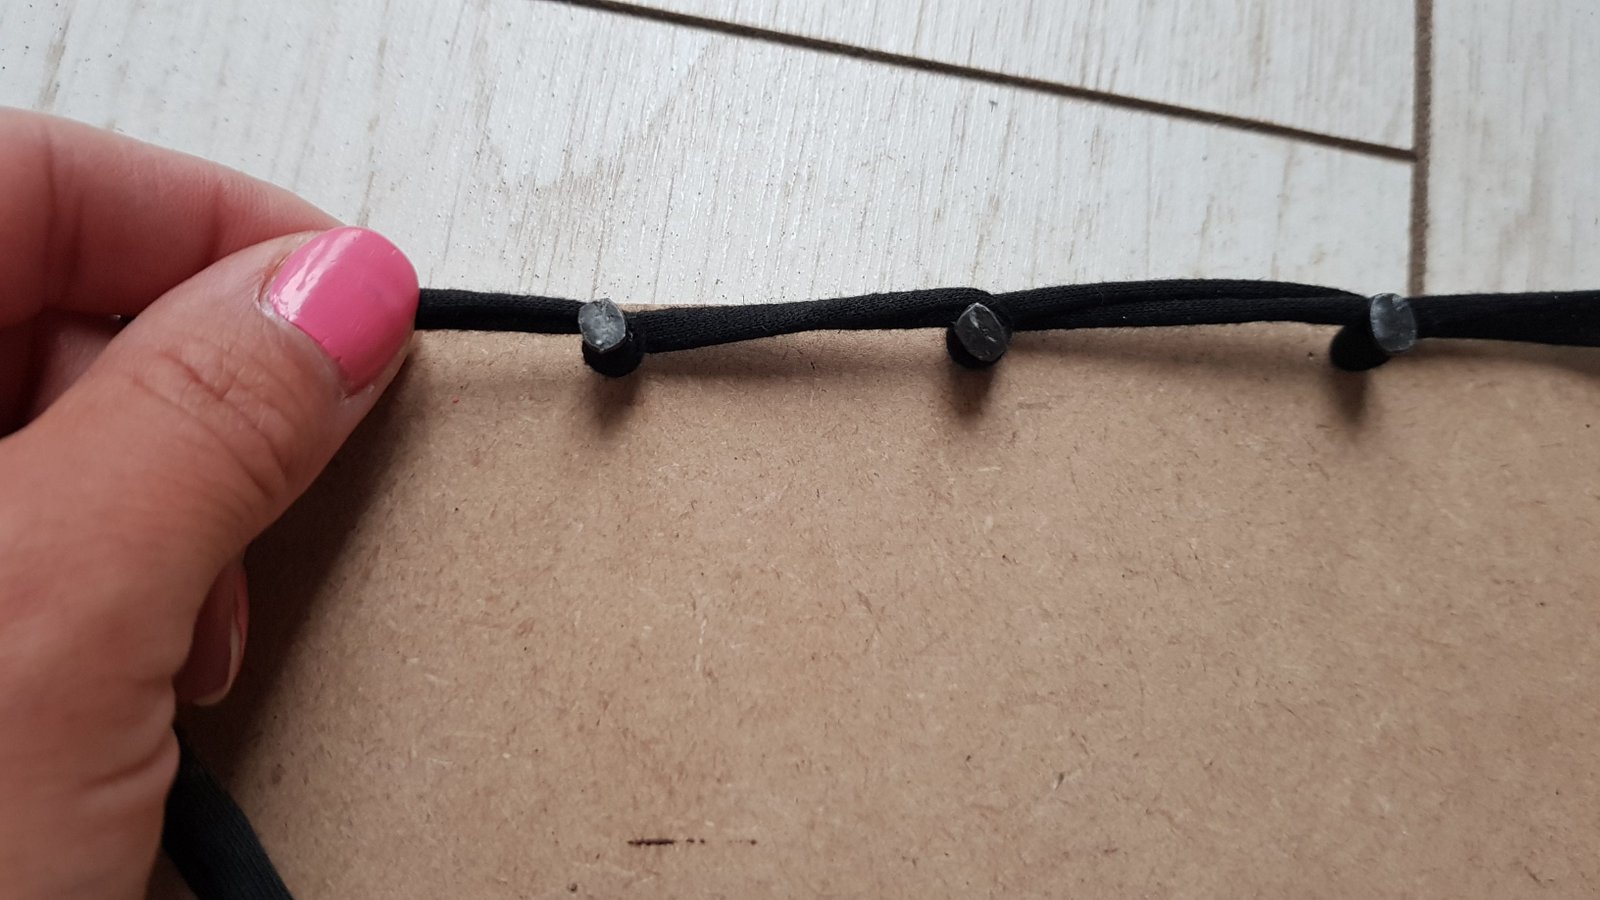
Start nailing the nails down with a hammer (make sure to keep the hammer away from your own nails though). Keep the gaps between the nails roughly the same. You can space them out by measuring first, although I didn’t do it. You don’t have to go just around the edges, you can spread the nails out as randomly as you wish.


When all the letters are done, start decorating them with a yarn or whatever you’re using. Start in one of the bottom corners but leave at least 20 cm of the yarn loose, just in case you decide later to have the two ends join somewhere else. It took me a while to decide on the pattern so take your time. Don’t tie the ends until you’re completely happy with it. This way you can always go back and start again. I had the whole two letters done when I decided to change it!


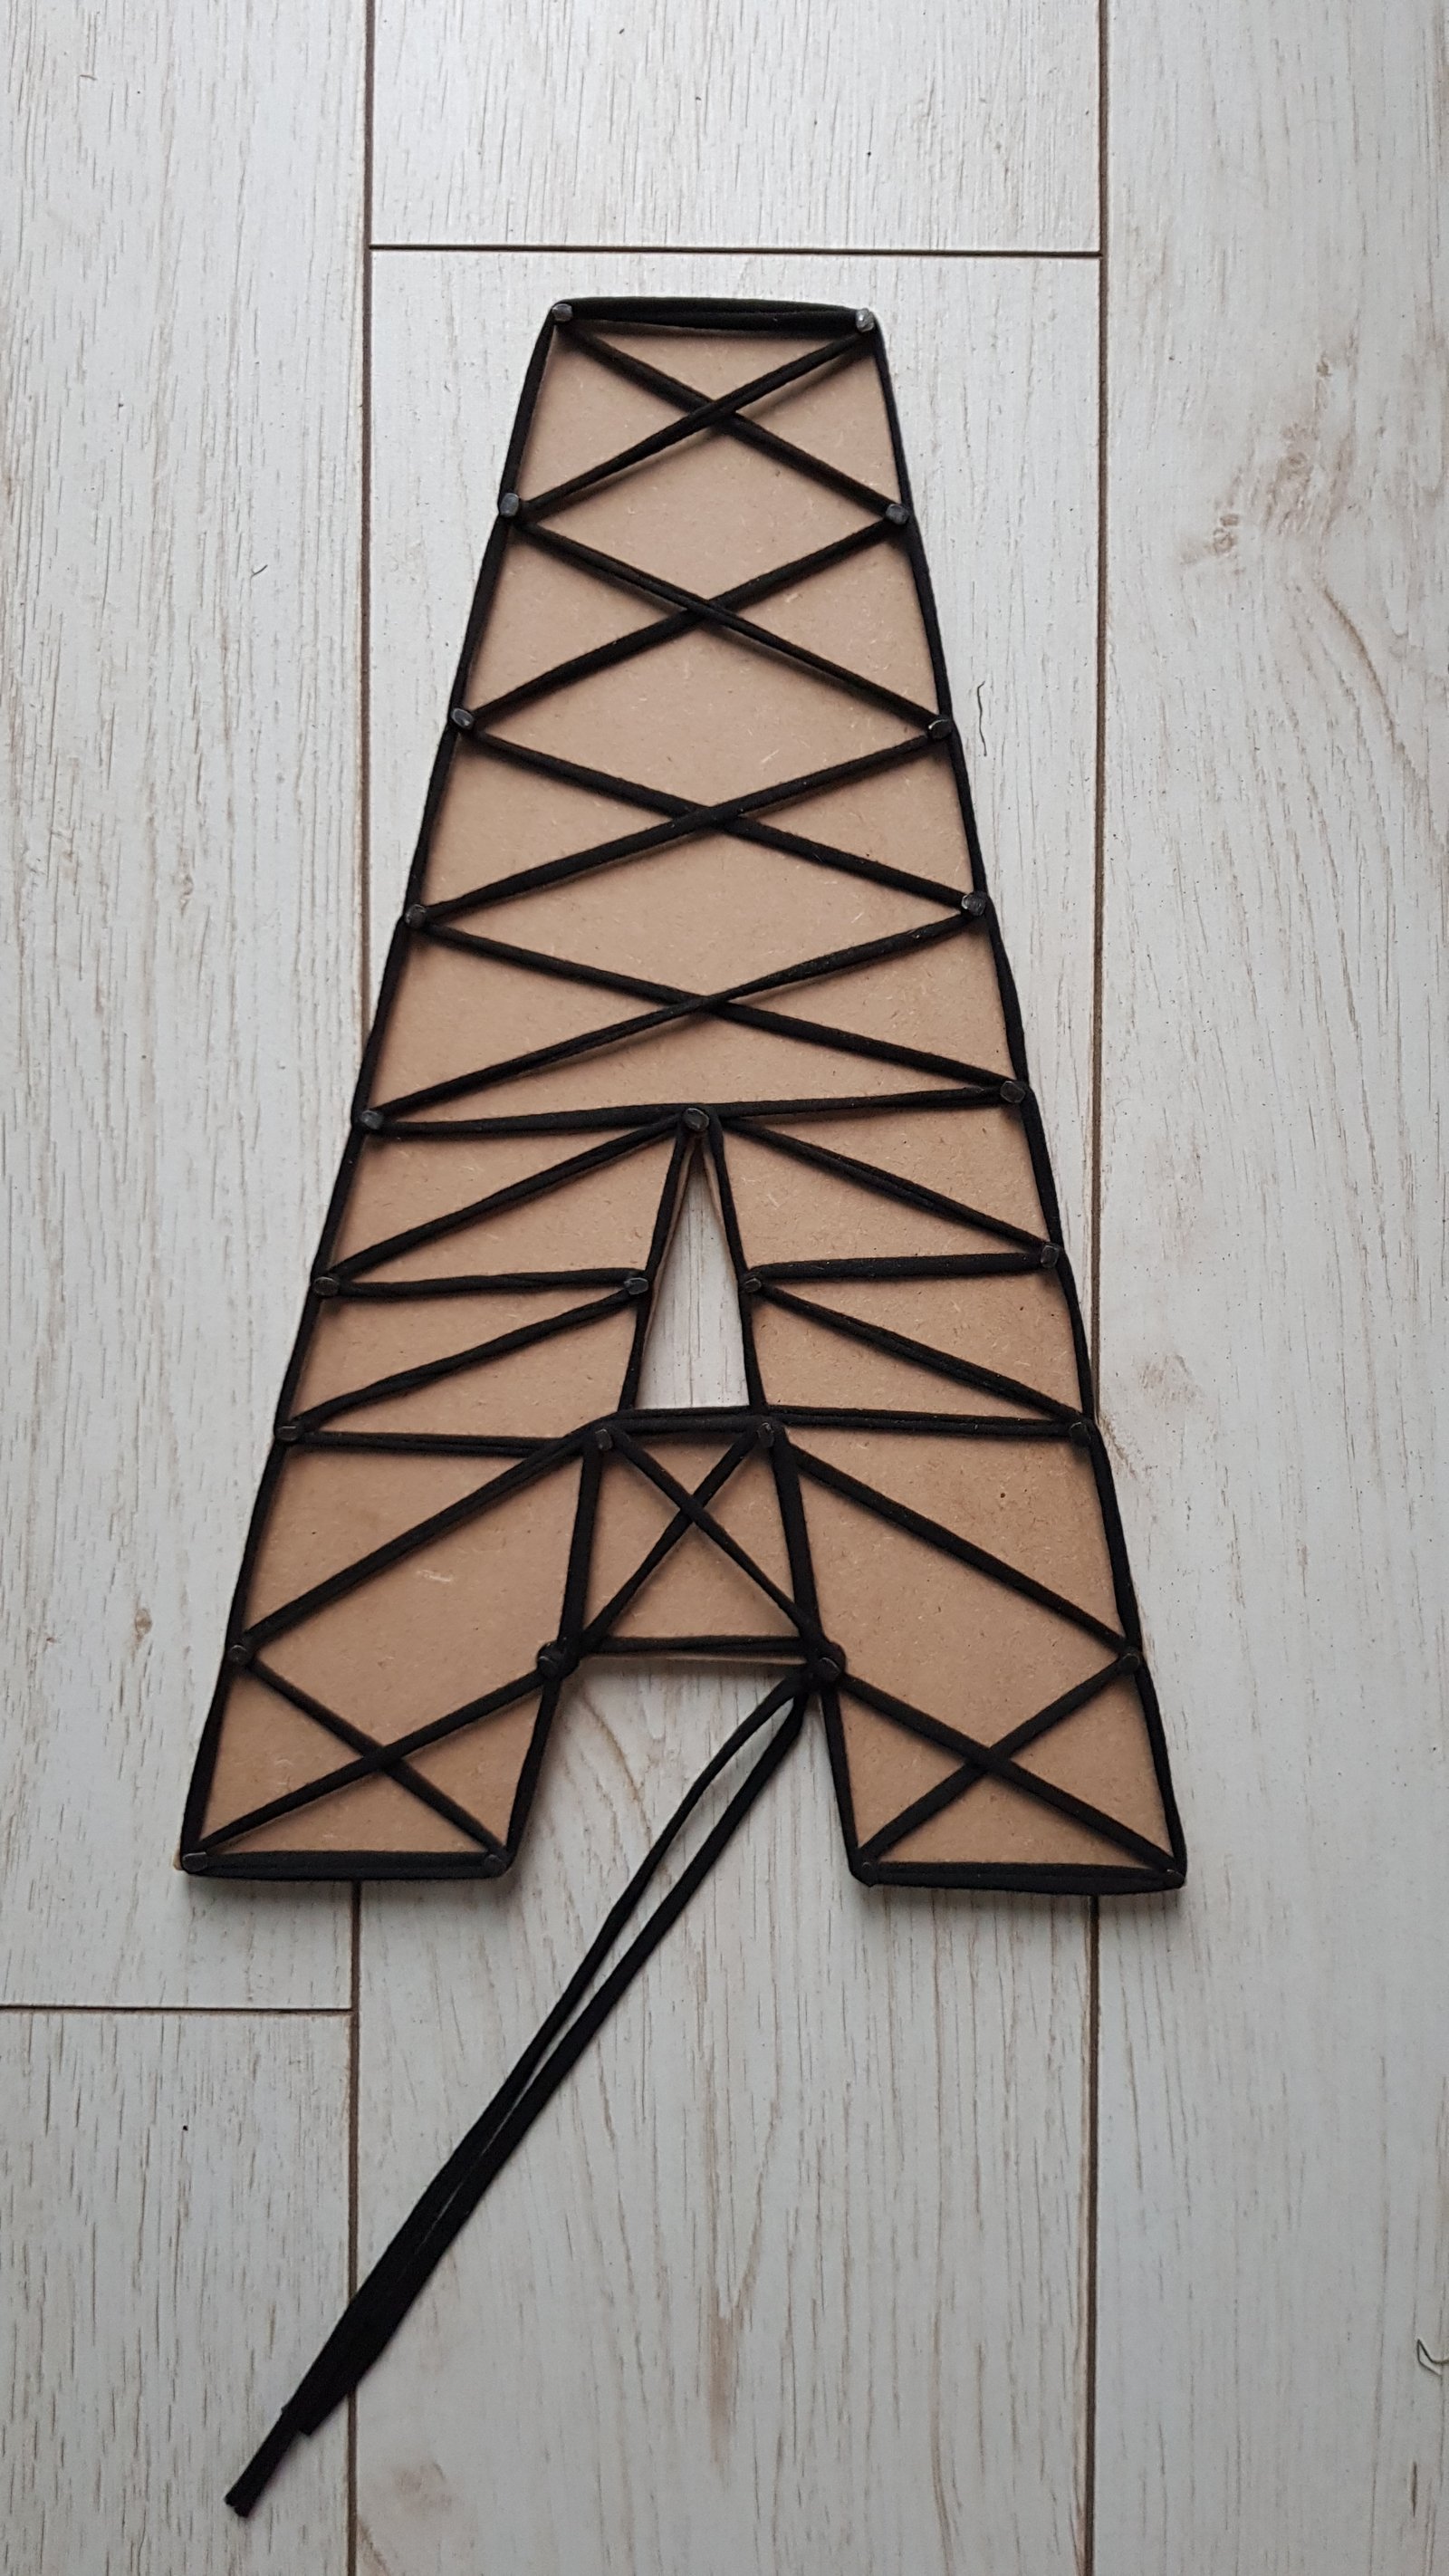
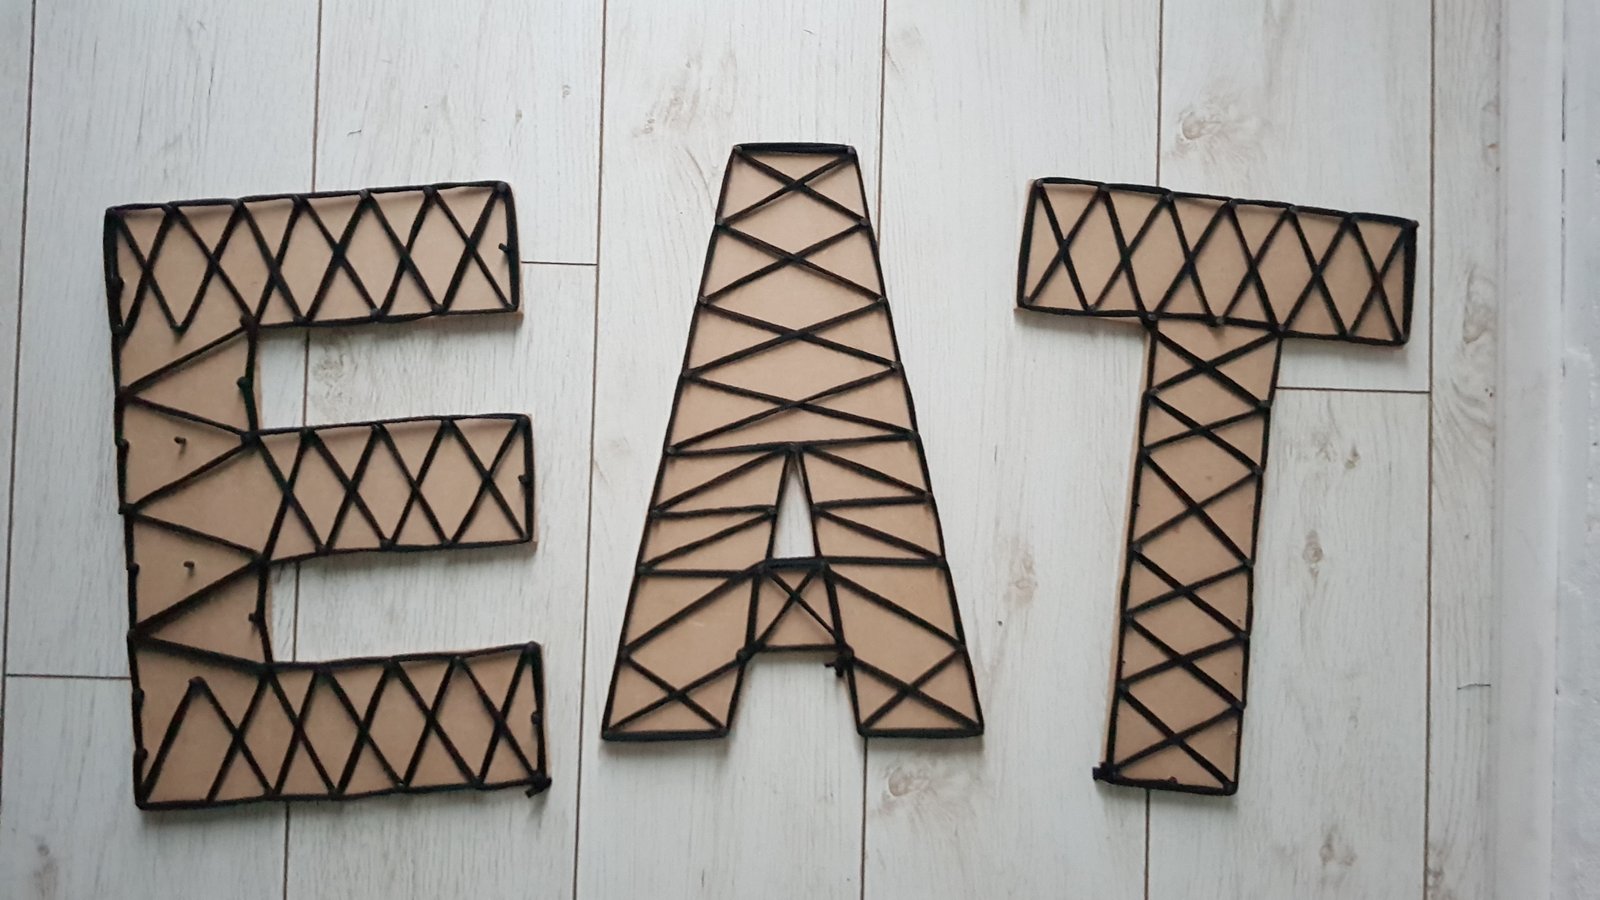
And that’s it! Your DIY wall letters sign is ready! If you’ve decided on the same word as me, it will be perfect to decorate your kitchen or a dining room. The beauty of it is that any other letters sign can be made the same way, for any part of the house. How about “Hallo” to greet your guests, or your kids names for their bedrooms walls?
Fancy a different project? Why don’t you try making an atumnal door wreath with dried leaves?